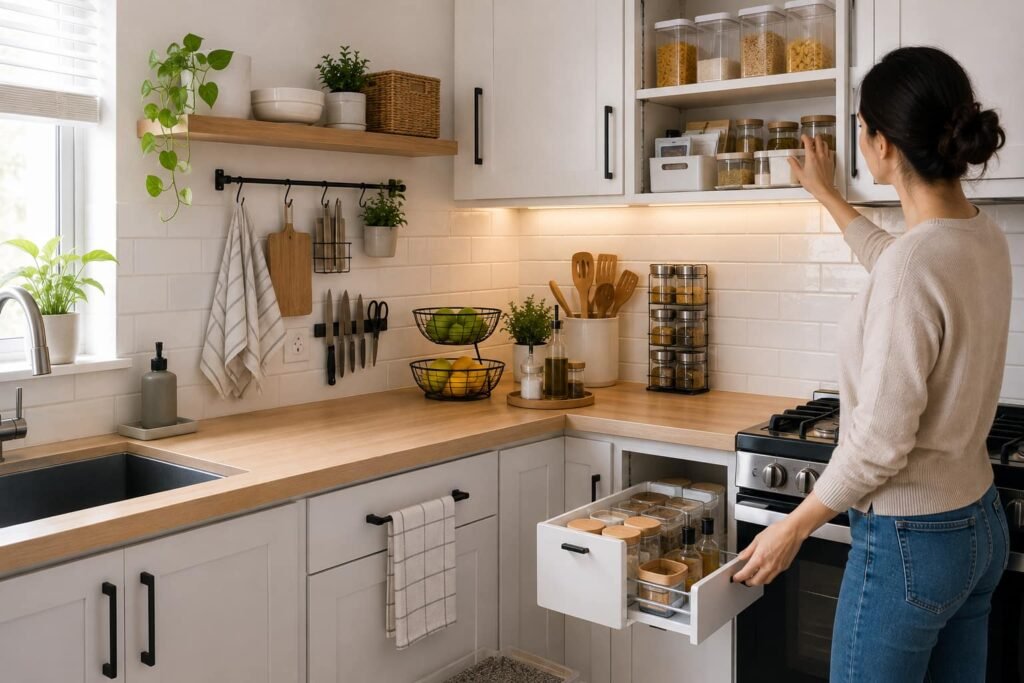
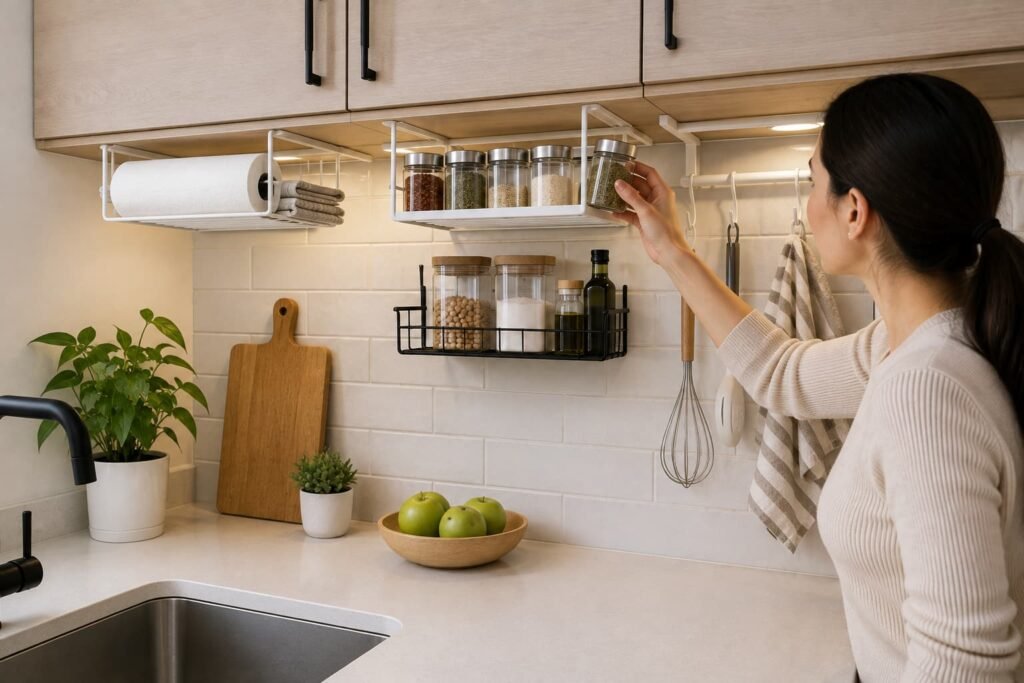
If you have no pantry, here is where your dry goods actually go: claim one full cabinet as a dedicated "pantry cabinet," go vertical inside it with shelf risers and turntables so you stop stacking cans on top of cereal boxes, and use the backs of your cabinet and closet doors for everything flat (spice packets, foil, small jars). That single cabinet plus its door becomes your whole dry-goods system. The bulky items that will not fit go to a labeled overflow zone just outside the kitchen. Everything below is how to set that up in order.
I have cooked in three apartments that never had a pantry, and the mistake I made every time was treating it as a shortage of shelves. It is not. Once you fix the real problem, a small kitchen with no pantry runs fine.
Why a no-pantry kitchen is a decanting problem, not a shelf problem
Almost every guide you will read hands you the same list: buy a turntable, add a floating shelf, get a rolling cart. That advice is fine, and I use most of it below. But it skips the thing that actually makes a no-pantry kitchen feel broken.
The problem is not that you have too few shelves. It is that boxed and bagged food is the wrong shape for the space you have. A box of pasta wastes the air above it. A half-open bag of flour tips over and spills. Three cereal boxes eat a whole shelf and still hold barely anything. A pantry hides all of that mess behind a door, so you never have to solve it. With no pantry, you do.
So the real job is two things most articles never name. First, decanting: moving food out of its clumsy original packaging into containers that stack and use vertical space. Second, inventory: because once food is out of its box, you can no longer see the "3 left" at a glance, so you need a system to know what you have. Get those two right and the shelf question mostly solves itself.
Step 1: A 15-minute declutter before you buy a single thing
Do not buy organizers yet. Set a timer for 15 minutes and pull every food item out of your cabinets onto the counter. Toss anything expired. Group the duplicates you forgot you had (I once found four bottles of soy sauce). Move the appliances you use twice a year off the prime shelves and somewhere less valuable.
Most people discover they do not have a storage problem so much as a "keeping things I never use" problem. You may free up an entire shelf here, which changes what you need to buy next.
Step 2: Claim one cabinet as your pantry cabinet
Pick one cabinet and mentally rename it. This is now the pantry. Not "sometimes food, sometimes mugs, sometimes random." Food only.
Choose a tall one if you have it, ideally near where you cook so you are not walking across the kitchen mid-recipe. Everything that would have gone in a pantry now has a single home, which is what stops dry goods from creeping across every surface you own. If your bigger issue is that your cabinets themselves are too shallow or too few, that is a different constraint, and I go deep on it in under-cabinet storage ideas.
Step 3: Go vertical inside the cabinet, then use the door
A cabinet shelf is mostly wasted air. Your job is to fill the vertical space, not just the floor of the shelf.
- Shelf risers create a second level so short items (cans, jars) sit under a raised platform and taller items go beside it. You roughly double a shelf this way.
- A turntable on a deep or corner shelf means the bottles at the back are no longer lost forever. One spin and you see everything.
- Stair-step organizers let you read every can label at once instead of digging.
Then attack the door. The back of a cabinet door is prime real estate almost everyone ignores. An over-the-door rack or a few adhesive bins hold spice jars, foil, wraps, and packets, all the flat stuff that otherwise clutters a shelf. If you can drill, a narrow wall rack or a length of pegboard on an empty wall adds a whole surface without touching your cabinets. Renters, hold that thought, I cover no-drill versions below.
Step 4: Clear, stackable containers for the deep shelves
This is the decanting step, and it is the one that does the heavy lifting. Transfer your most-used dry goods (pasta, rice, flour, sugar, oats, lentils) out of their boxes and bags into square or rectangular airtight containers.
Two rules that matter more than which brand you buy:
- Square or rectangular, not round. Round containers waste the corners. Square ones sit edge to edge and stack cleanly, which is the entire point in a tight cabinet.
- Clear, not opaque. The moment you decant, you lose the packaging that told you how much was left. Clear containers give that information back at a glance, which is your inventory system in its simplest form. Add a small label with the item and, if you like, the cook time, so nobody has to hunt for a torn box flap.
Uniform containers also stack front to back on a deep shelf without the back row disappearing, which is exactly where boxes fail.
Step 5: Add a freestanding or rolling piece if the walls are full
When your one cabinet and its door are maxed out, the answer is furniture that brings its own storage, no installation required.
- A rolling kitchen cart works as a mobile pantry. Load it with everyday items, roll it to the counter while you cook, tuck it into a corner or beside the fridge after. In a rental this is my favorite move because it leaves zero marks and moves with you.
- A narrow ladder shelf or bookshelf turns a slim strip of wall into open storage for jars, cookbooks, and baskets.
- A secondhand hutch, dresser, or sideboard just outside the kitchen holds a startling amount of dry goods and backup supplies, and it looks like furniture rather than a storage unit.
For renters specifically, freestanding and no-damage options are not a fallback, they are the smart primary plan. I round up the pieces that pull real weight without a single screw in renter-friendly kitchen storage products.
Step 6: Where the bulky stuff actually goes
Here is the part almost every other guide quietly skips. You have decanted, gone vertical, and added a cart, and there is still a 10 lb bag of rice, a warehouse pack of paper towels, and three backup bottles of oil with nowhere to live. Container tricks do not solve bulk. Space does.
- Stackable bins under the sink, working around the plumbing, hold bottled goods and cleaning-adjacent items you do not reach for daily.
- A labeled overflow zone outside the kitchen, a hall closet shelf, the top of a bedroom closet, a bin under the bed, or an entryway cabinet, becomes your backstock. When the kitchen jar of rice runs low, you refill it from the bag out here. The kitchen holds the working amount, the overflow zone holds the reserve.
- Vacuum-sealed or clipped bags shrink big bags of flour, rice, and grains and keep them fresh in that overflow zone.
The one rule that keeps this from becoming clutter: label the overflow zone and keep it to backstock only. The moment random junk drifts in, it stops being a reserve and becomes another mess.
The honest part: bulk buying works against you here
This is where I disagree with the money-saving advice you will see everywhere else. In a no-pantry kitchen, buying in bulk usually costs you more than it saves. That giant bag of rice or the 24-pack of anything has no home. It ends up on the floor, on the counter, or wedged somewhere it does not belong, and clutter has a real daily cost even when the unit price looked great.
Buy the size your space can actually hold. If a warehouse deal is genuinely worth it, only take it when you have a real, labeled overflow zone to receive it. Otherwise you are trading a few saved dollars for a kitchen that feels chaotic every single day, which is a bad trade.
The other honest note, for renters: build your whole system around freestanding and no-damage pieces from the start. Do not fall for guides pushing drilled shelves and wall-mounted racks you will have to patch and repaint later. A rolling cart, a ladder shelf, over-the-door racks, and adhesive bins will get you 90 percent of the way with nothing your landlord can charge you for.
Step 7: A five-minute weekly habit that keeps it working
A no-pantry system slides back into chaos faster than a pantry does, because there is no door to hide the drift. One small habit prevents it. Once a week, ideally right before you shop, spend five minutes scanning your clear containers and overflow zone. Note what is low, refill the kitchen jars from the overflow, and put back anything that wandered. That is your inventory check, and it is the difference between a system that holds and one that quietly falls apart by week three.
For the bigger picture across your whole kitchen, not just the food storage, see my full guide to small kitchen organization ideas.
FAQ
Where do you store dry goods without a pantry?
Claim one cabinet as a dedicated pantry cabinet, then decant pasta, rice, flour, and other dry goods into square, clear, airtight containers so they stack and stay visible. Keep only the working amount in the kitchen and send bulk backstock to a labeled overflow zone outside the kitchen, like a hall closet or a bin under the bed.
What can I use instead of a pantry in a small kitchen?
A single tall cabinet plus the back of its door, a rolling kitchen cart as a mobile pantry, a narrow ladder shelf, or a freestanding hutch just outside the kitchen. Any of these can replace a pantry without a renovation, and the cart and hutch options leave no marks in a rental.
How do I organize a no-pantry kitchen if I rent and cannot drill?
Lean entirely on freestanding and no-damage pieces: a rolling cart, a ladder or bookshelf, over-the-door organizers, and adhesive bins on the backs of doors. These give you most of a pantry's function without a single screw, so there is nothing to patch when you move out.
Should I buy food in bulk if I have no pantry?
Usually no. Bulk packs have no natural home in a no-pantry kitchen and tend to become clutter. Buy the size your space can actually store, and only take a bulk deal when you have a real, labeled overflow zone ready to hold the extra.
What is the first thing to do when organizing a kitchen with no pantry?
Declutter before buying anything. Spend 15 minutes pulling out every food item, tossing expired goods, and grouping duplicates. Most people free up a whole shelf this way, which changes what storage they actually need to buy.